Home → DIY Install Guide
By Johannason Windmore · Updated June 2026The DIY mini split install playbook
If you've installed a ceiling fan and a 240V outlet before, you can almost certainly install a pre-charged DIY mini split. Here's what's actually involved — tools, time, cost, and the parts where a lot of DIYers screw up.
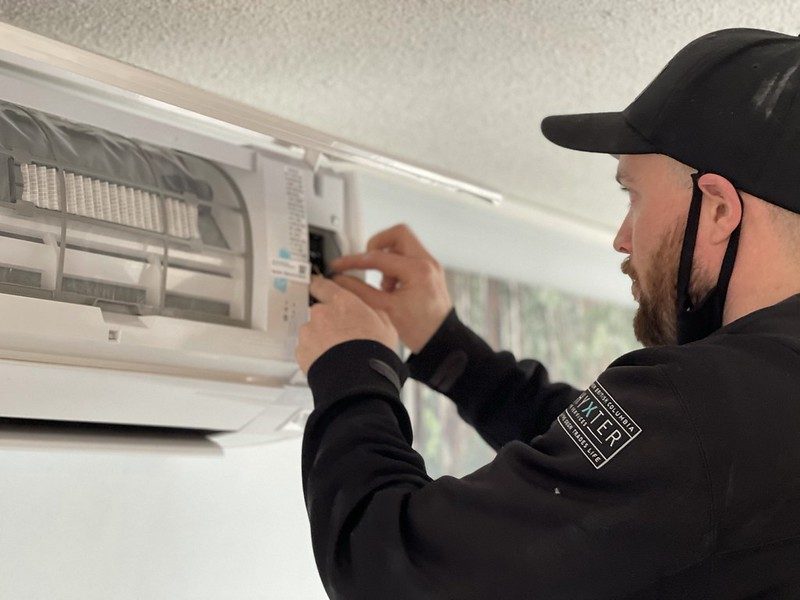
Are you a good DIY candidate?
Not everyone should DIY this. You're a good fit if all of these are true:
- You're buying a true quick-connect DIY model — Zone Air, MrCool DIY 5th Gen, or Perfect Aire QuickConnect. Standard Mitsubishi / Daikin / Fujitsu / Pioneer / Senville lines are not pre-charged and require EPA 608 certification plus a vacuum pump. Watch for the fakes too: DELLA and the "semi-DIY" Cooper and Hunter units pre-charge only the condenser, so the line set still has to be vacuumed. See our full DIY rankings for the breakdown. This guide only applies to the true quick-connect tier.
- You're comfortable running a dedicated circuit — 115V on some units, 240V on others — or you'll hire an electrician for that one piece. It's a 2-hour job for a pro, typically $300–$600.
- You own a cordless drill and can cut a level 3-inch hole through an exterior wall without having a panic attack.
- You have a helper available for an afternoon (lifting the outdoor condenser is a two-person job).
- Your install is single-zone. Multi-zone DIY exists — MrCool and Zone Air both sell pre-charged multi-zone bundles — but the complexity jumps significantly.
What it actually costs
A realistic 12,000 BTU single-zone DIY install breakdown. The unit line reflects the range across the true quick-connect brands at their high-efficiency tier — Perfect Aire runs cheaper, Zone Air and MrCool run higher.
| Item | Typical cost |
|---|---|
| Quick-connect DIY 12k unit + 25ft lineset (Perfect Aire / Zone Air / MrCool) | $1,800–$2,400 |
| Outdoor wall bracket or pad | $60–$120 |
| Line set cover / raceway (optional, looks better) | $80–$150 |
| Disconnect box + whip | $50 |
| Electrician to run the dedicated circuit (if needed) | $300–$600 |
| Tools you might need to buy (see below) | $50–$150 |
| Total DIY | $2,150–$3,450 |
| For comparison — same install done by a pro (using a standard non-DIY unit) | $4,000–$5,500 |
DIY savings: typically $2,000–$3,000 per single-zone install versus hiring a pro — toward the high end if you handle the circuit yourself. The federal 25C tax credit expired December 31, 2025, so it no longer offsets 2026 installs — but check state and utility rebates, which may still apply.
Tools you'll need
- Cordless drill (18V+)
- 2.5" or 3" hole saw bit
- Stud finder
- 4-foot level
- Adjustable wrenches (two)
- Torque wrench — critical. Flare fittings have a torque spec (typically 18–36 ft-lbs depending on line size). Overtighten and you crack the flare; undertighten and you leak refrigerant.
- Wire strippers and electrical tester
- Caulk gun + exterior-grade silicone
- A helper + ladder
The 6-step install walkthrough
Step 1 — Mount the indoor head unit bracket
Find your studs. Hold the mounting plate against the wall where you want the head. The head should be 6+ inches from the ceiling and ideally away from direct afternoon sun on the other side of the wall (thermostat accuracy). Use the plate as a template, mark holes, and secure with lag bolts into studs (not drywall anchors).
Step 2 — Drill the wall pass-through
This is the scary step. The pass-through hole needs to be behind the mounting plate, angled slightly downward toward the outside (~1° slope) so condensate and any water drains outward, not into your wall. Use a 2.5" or 3" hole saw.
Before drilling: confirm what's on the other side of the wall. Not a bathroom vent, not a dryer vent, not electrical. Many DIYers accidentally hit wiring. Use a stud finder with AC detection.
Step 3 — Install the outdoor condenser
On a concrete pad (preferred) or wall bracket. Must be level within 1°. Needs 12+ inches of clearance in front of the fan, 6+ inches on the sides. Elevate 4+ inches above grade in snow country. Don't put it under a gutter drip line.
Step 4 — Run and connect the lineset
The lineset is two copper refrigerant lines + control cable + condensate drain, bundled and insulated. Run from indoor head down through the wall pass-through to the outdoor unit. Don't kink the copper. The pre-charged flare fittings need to be torqued, not just finger-tight.
Step 5 — Electrical
Mini splits need a dedicated circuit, usually 15A or 20A for single-zone. Voltage depends on the unit: the MrCool DIY 5th Gen and Zone Air 12K run on standard 115V, while most larger sizes need 240V — check the nameplate before you buy breakers and wire. Either way the circuit goes through a disconnect box mounted within sight of the outdoor unit, which is a code requirement. If you're not comfortable with this wiring, hire an electrician — it's a 2-hour job and saves you a fire.
Step 6 — Open the service valves and test
On pre-charged systems, refrigerant is held at the outdoor unit. After all connections are torqued and the electrical is live, use a hex key to slowly open both service valves (low-side first, then high-side). The system is now charged. Power it on and confirm cold air comes out in cooling mode within 2–3 minutes.
5 common DIY mistakes
- Not torquing the flare nuts. You'll get a slow refrigerant leak that's invisible for months, then the system stops cooling.
- Kinking the copper lineset. Once kinked, it's trash. Unroll carefully, don't bend tight.
- Forgetting the drain slope. Condensate drain must slope continuously downward. Any "bellying" = water dripping inside your wall.
- Undersized electrical. Check the nameplate amperage and match the breaker/wire. A 24k unit on a 15A circuit trips constantly.
- Installing outdoor unit too close to wall. Needs airflow. Less than 6" of side clearance and the system underperforms.
When to hire a pro instead
Hire a licensed HVAC contractor if any of these apply:
- You want a standard (non-pre-charged) unit — Mitsubishi, Daikin, Fujitsu, standard Pioneer or Senville. These legally and practically need a pro because of the vacuum and refrigerant handling.
- Your install requires cutting into a brick or stucco exterior with anchors you don't have the tools for.
- You don't have a 240V subpanel slot and the service upgrade is part of the job.
- Your HOA requires licensed contractor documentation.
- Some utility rebates or state programs require certified-installer sign-off, which can disqualify a DIY install — check your local energy-efficiency program before you buy.
- The job is complex multi-zone (4+ heads) and you want the warranty coverage a pro install guarantees.